Hello and welcome back to a new blog series!
This time, the entries will be about ‘real time interactive architectural visualization’. As the topic I’ve chosen for my final master’s degree in Computer Animation, the aim of the project I’m about to start is to create a piece of interactive architecture. In other words, I would like to generate an apartment that can be checked and visualized by any person that would like to do so, either in the shape of a video game or a virtual reality experience. Here’s how I’ll do it.
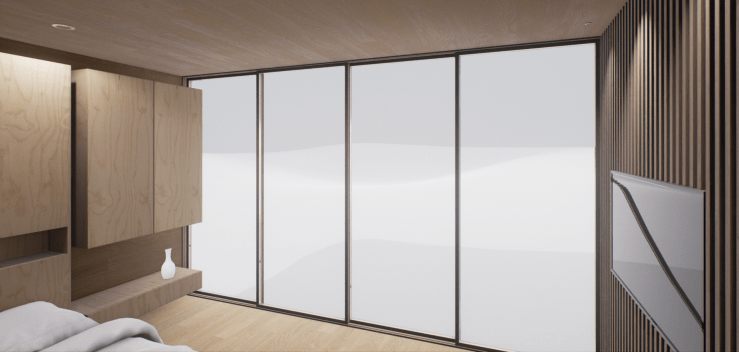
First, get something pulled together as the flat we’ll work on. It should be nice, pretty and great to look at – if we are doing it, let’s get something fancy! Although that’s going to be a thing, we don’t want to spend a lot of time at this stage, since it’s not the main purpose of the project. Thankfully, being an architect has helped me at this point – as well as taking many references from different flats already constructed. I’ll link some of the examples that inspired me, both in regards of overall mood and layout. If you want to follow along and create your own, just spend as little time as possible in the design stage, and maybe even consider copying an existing model. Creating the interactive experience is the main aim of the project, and prioritizing other aspects could bog you down.
After taking the all important decision of what you want to achieve, we’ll need to start working towards that goal. Thus, the second stage of our project is to model the building, and along the way we’ll need to take the right decisions in regards of how to proceed. This is, after all, a 3d geometry that will be placed in a game engine. Poly counts are extremely important, and they will alter how long it will take to render the scene – therefore, let’s keep that in mind whenever we give shape to any object.
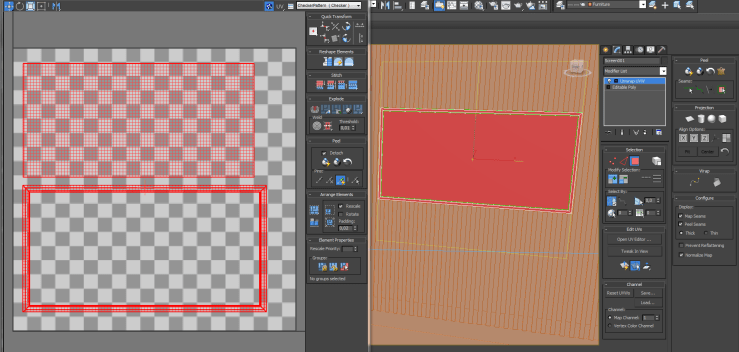
Once the models are ready, we can’t forget to properly UV map them. Doing this will ensure that we can later create and apply the textures that we need in the models, but their importance don’t end there – having an object correctly uv mapped allows the engine’s lighting calculations to be accurate too. For instance, if we forget this part, and an object has overlapping uv faces, there might be incorrect shadows or artifacts in our scenes.
Completing those two initial tasks will give us the basic building blocks which we’ll use to fill the scene. The models will be ready to be taken into a video game engine and correctly depicted in there. However, and since this will be an interactive experience, things will really start to pick up from here. Our next step will involve turning those initial assets into interactive game objects – like creating lights that can be switched on and off, doors that open, furniture that we can interact with…
So that’s going to be the last part of the project, creating all of the interactive assets and making a video game out of our interactive architectural visualization. The blog entries that will follow this one will be hopefully short and to the point – they will all focus on small pieces on how to do specific things, so they will work almost as mini tutorials. Hopefully with plenty of images and feedback! And also, drop a comment if you have doubts about anything covered in the mini lessons.
So join in next week, around this time every Sunday evening, for a new little tutorial on how to make a house fully interactive in a video game engine!
Cheers!
